Tips for Fixing Ball-Type Faucets
Virtually anyone can repair a common ball-type faucet. While handling a touch faucet is far easier, when it comes to repairs, ball type faucets feel easier to handle. They are fairly straightforward and simple faucets to understand and fix. Here are twelve tips to help you work on your faucet with ease. Do it yourself plumbing projects are an excellent way to save money on home improvement. In today’s bad economy most people cannot afford to call an expensive plumber but, thank goodness, plumbing is fairly easy for the novice to repair with only a few basic tools and a little bit of common sense.
We were faced with repairing the faucet in the last home we lived in. It needed a simple o-ring which cost us less then $5.00. Most ball-type faucets will spring a leak at the handle or spigot. These two situations are easy and cheap to repair yourself in less then fifteen minutes.

Before beginning your repair job make sure you have the tools that you will need. You will need a Hex Key, utility knife, screwdrivers, and silicone grease. You will be told that you need special water pump pliers but my husband used normal every day pliers so it is really your call on that one.
- Find out the make and model of your faucet so you will know what replacement parts you will need when you head to the home improvement store. If your faucet is simply too old to identify what the make and model is then take a photo and bring that into the store or bring the part itself.
- Pick up a cheap repair kit for your model of faucet. These come with everything you need and they are cheap.
- Plug the drain opening.
- Have a bucket and towels ready to catch any water.
- Turn off the water under the sink.
- To remove the handle on the faucet simply loosen the handle set screw.
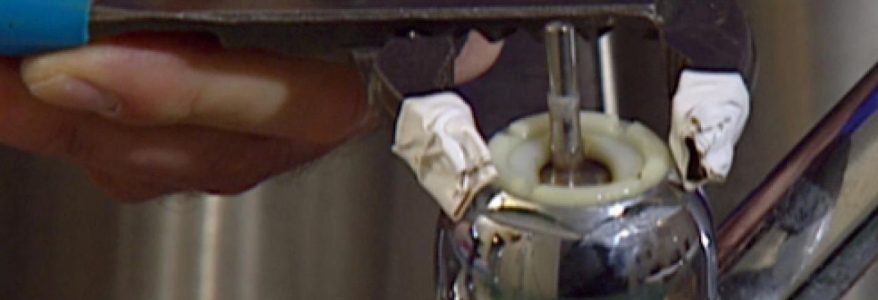
- Use a pair of pliers to remove the cap. Be careful to not damage the chrome finish. Many people wrap the pliers in tape to prevent any damage. My husband simply used a rag and then a pair of pliers to prevent the teeth from marring the chrome.
- You will need to use a hex key to remove the cam housing. Once the housing is removed you can lift out the ball and seal. Take a close look at these parts for damage.
- Carefully pull out the cone-shaped springs from their seat. Remember where they go so you can put them back the same way. A kit will come with the replacement springs that you need.
- To remove the spout simply twist and lift.
- Now pull the o-ring off. This is what needed replaced on our sink.
- Coat the new o-ring with the silicone grease and then slip on gently.
You are done now. Simply reinstall everything the same way that you took it all apart. This repair is one of the easiest that you will ever do in your home maintenance projects.


