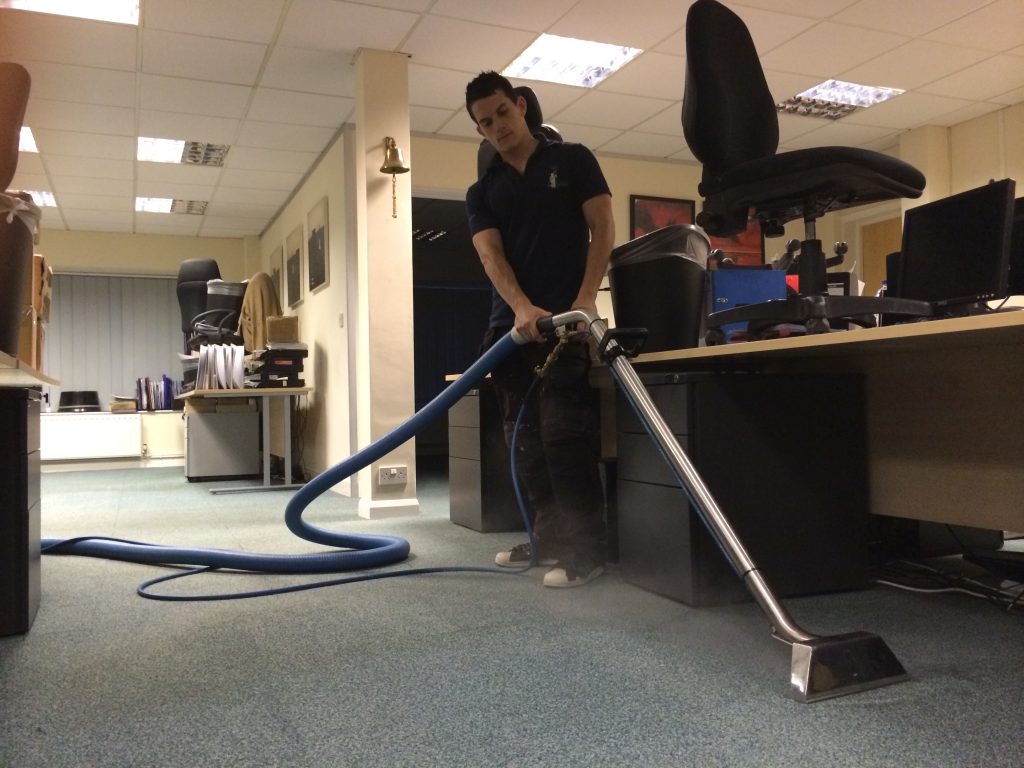
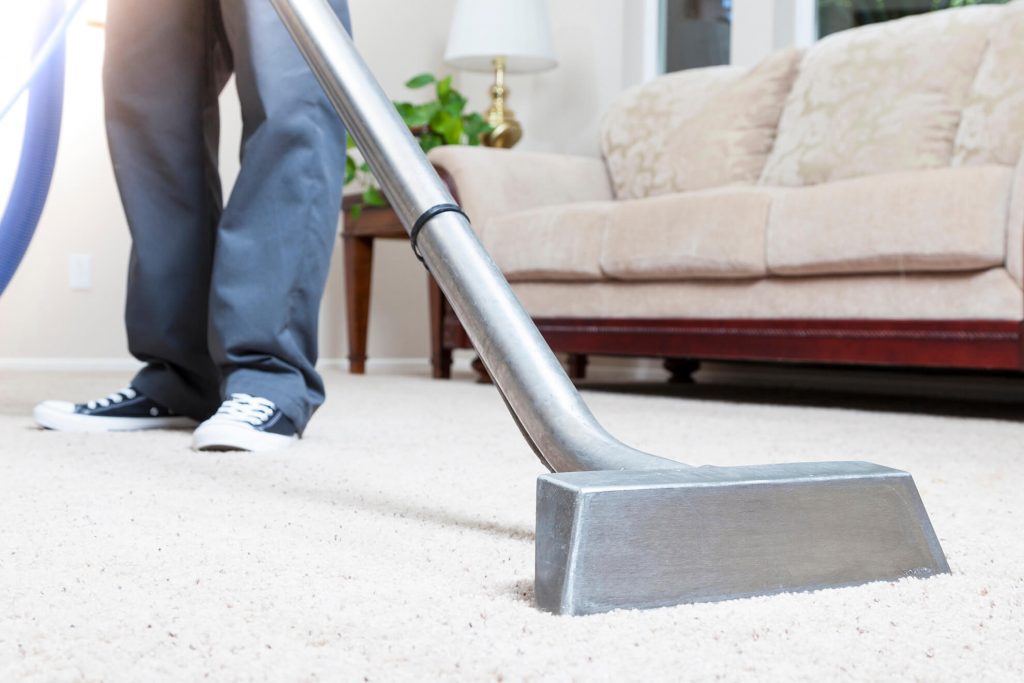
Diy Guide On How To Install Carpet In Your Home
Owning a home is a wonderful experience. The freedom of choice that you possess over your own personal domain is often one of the finest qualities of home ownership. This article is a rough DIY guide on how to replace carpet in your home. With these simple tips, you no longer have to type on Google the best carpet cleaning near me just to have your carpet cleaned. I am going to walk you through the process step by step. It can honestly be done as quickly as 30 minutes (rip and replace); however, I’ll only be discussing the right way. Okay then, let’s get started.
So, you have a room whose looks are outdated, or maybe the carpet is showing signs of wear and tear. Perhaps you wish to get rid of the shag carpet from your glory days? Whatever your reason, the first step really in any remodeling project is to make two things: a time line and a goal. The goal is really more of a design aspect of the project. You need to figure out what look you’re going for. I generally prefer a more professional clean feel to a room, so my preferences might be a lot different than yours. Now, let’s get rid of that old carpet!
- If you haven’t done so already, you will need to either remove all of the furniture from the room or move all of it to one side of the room. The way that you remove carpet is to pull it off the nail strips and roll it up, if you have furniture in the room, move it to one side, roll half the room up, then move the furniture to the other side. Now, I always advocate leaving the carpet padding (the foamy stuff under the carpet) down for the moment. Some contractors I know like to remove everything at once. I found that the padding is a good indicator of where the floor may be a little less level than we’d hope for. It’s easier to fix problems when the floor is torn apart!
- Well, now that you have the carpet rolled up; get a couple people to help carry it out with you. After you have looked over the carpet padding and verified that there are no serious wear spots, pull it up also, compress it into trash bags and find a pry bar! The strips of nails around the perimeter of the room can be annoying for anyone. Take the pry bar or screwdriver (or even hammer claw) and gently pry the strip up. These strips are made with 1/8th inch of plywood (if you’re lucky) and break very easily. Once you have that entire room’s worth up, grab a broom and sweep the all debris out.
- Carpet installation isn’t quite as simple as reversing the above directions. It’s close to it though, so don’t fret. First you will need to purchase some items called “tackless strips” from the hardware store along with your carpet. If you need it, now’s the time to prepare your seam tape if your room is wide enough. The beginning step is to attach the strips to the perimeter of the room along the wall where you just removed the old ones. Having done this, you can now take your new carpet pad and lay it out. Please be generous regarding the quantity of staples, it stinks when the under pad moves while you’re trying to lay out carpet.
- Once that’s done roll the carpet out into the room. Make sure you keep it relatively tight, but give it about a ¼ inch of room to compensate for the expansion and contraction.
- Now that you’ve hopefully got your carpet laid out, you can take a tool (you may have to rent this) called a knee kicker and attach the carpet solidly on one end. Pull the carpet mostly tight on the other (baring in mind not to overdo it and rip up what you’ve just secured on the other end). Then you can affix the other sides. If everything has gone well, you can replace your furniture and enjoy your new room!